|
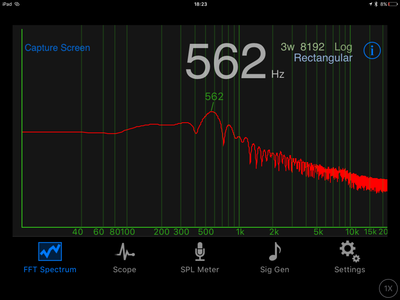
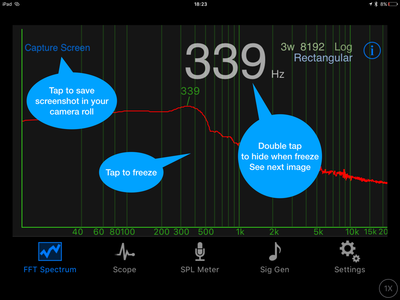
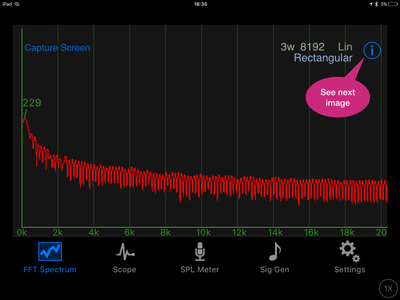
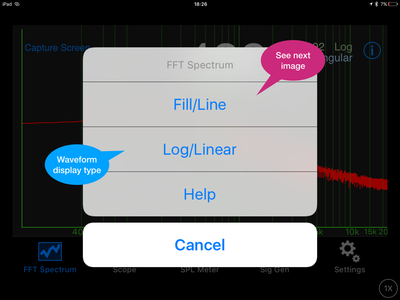
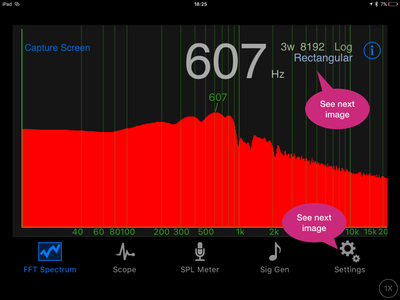
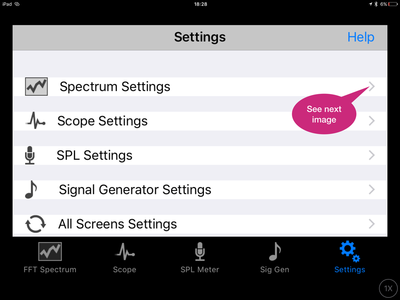
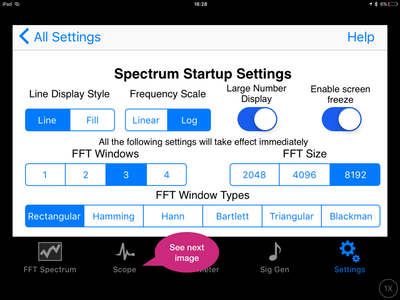
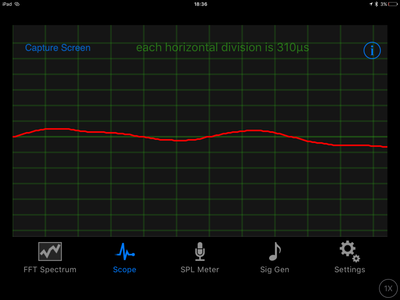
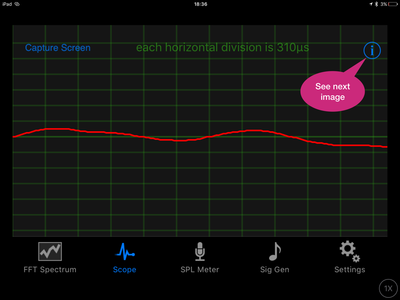
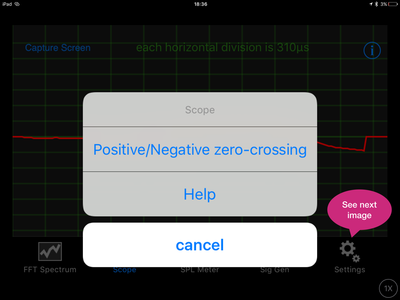
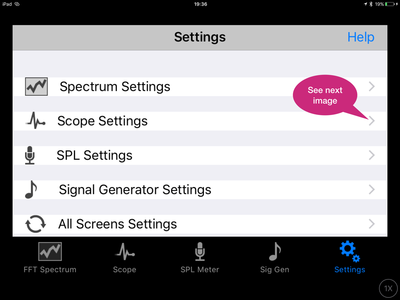
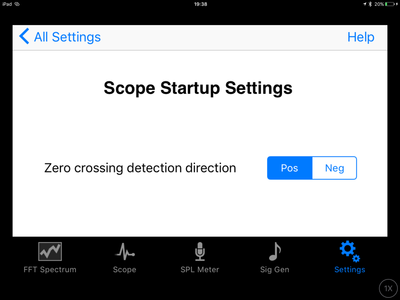
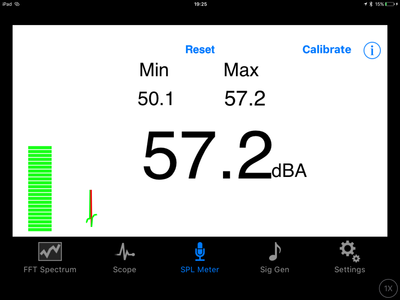
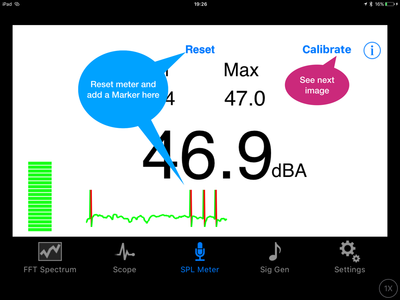
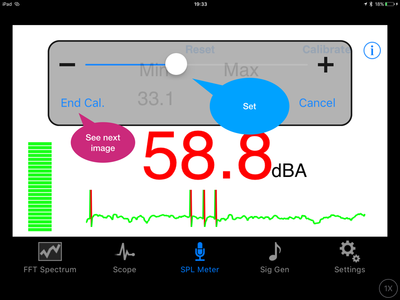
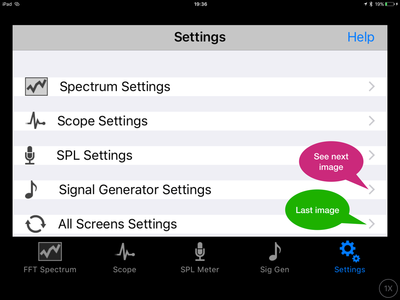
Audio Kit is an Audio tool for iPhone. Inside a FFT spectrum, an Oscilloscope, a SPL, and a Signal generator. 4 tools that can be really useful for those who are using their iDevice to record audio signal. The SPL has been calibrate by default for the iPhone built in microphone. You can calibrate it for an external microphone and save your configuration. The App is very well done, works very well and is very easy to use'. An help comes inside each modules. A Killer App, a Must Have! Check out the tutorial Bempton for all characteristics. The FFT spectrumSpectrum is a FFT (Fast Fourier Transform) based real time spectrum analyser. It is simple to operate and displays a spectrum of around the entire normal human hearing range (20-20,000Hz). The FFT method calculates the frequencies in groups (or bins), rather than discrete individual frequencies. In Audio Kit there are 3 selectable FFT data sizes - 2048, 4096 and 8192. These correspond to bin sizes of 21.5332Hz, 10.7666Hz and 5.383308Hz respectively. Data from these bins is then used to calculate the highest peak values exactly by interpolation, typically giving an accuracy to within 1Hz. The initial display is with the frequency (x) scale in logarithmic format. A linear frequency scale can also selected in the options. In both the log and linear scales the vertical green lines enable you to estimate the frequency of various other peaks besides the strongest, which is indicated with moving text, and with large number in the center. In the upper right hand side of the screen there are labels displaying the number of FFT windows, the FFT size, scale type of either "Log" or "Lin" to reflect the scale currently being used, and just underneath these the FFT Window Type is displayed. The strongest frequency is displayed in two places: 1 Above the peak of the strongest frequency in a small font. 2 In the upper center of the screen in a large font. This large number can be quickly toggled on or off by double tapping in the main area of the Spectrum screen. FFT Parameters Audio Kit allows for the selection of three types of parameters for FFT calculations used in calculating the Spectrum display: • The number of FFT windows used • The size or length of the FFT data • The type of FFT window function used Changes to all 3 of these FFT parameters can be made from the Settings -> Spectrum Settings screen, and are effective immediately as well as being retained as the startup settings. The number of FFT windows used to calculate and display the graph is selectable from 1 to 4 windows. Selecting one window displays readings from a single sample. As more windows are selected samples are averaged and a more stable display is achieved with less noise. More windows also has the effect of a slight inertia to the display, giving a memory effect to the peaks. Three different FFT data sizes or lengths can be selected - 2048, 4096 and 8192. The current running FFT size is displayed next to the Log/Lin label in the upper right hand corner of the Spectrum display. There are 6 different FFT window function types available: Hamming, Hann, Rectangular, Bartlett, Triangular and Blackman. The current running FFT window type is displayed in the upper right hand side of the Spectrum screen under the Log/Lin display. The OscilloscopeThis is a simple oscilloscope type display of the raw sounds received by the microphone. Using a pinch gesture with 2 fingers will allow you to expand and contract the display in both directions so as to best present the waveform for viewing. Zero crossing of the waveform is detected so that it appears to be starting from zero at the left axis. The default is positive zero crossing. Negative zero crossing can be selected in the options using the Info button in this screen. The App help page is also accessed from the Info button. Note that at very high frequencies the waveform appears less smooth, and more jagged. This is due to less samples being taken at those frequencies. Using the included Signal Generator at frequencies in the mid range will display very smooth sine waves, even given the limitations of the device speaker and microphone. The Signal Generator itself is producing very uniform waveforms. The SPLA Sound Pressure Level Meter presents sound levels showing the current level as the main large display, and smaller displays showing minimum and maximum over the long term sampling period. Pushing the reset button resets all the digital displays and puts a mark on the ticker type plot. There is also a colored bar type indication of the measured SPL at the left hand side of the screen. A sliding ticker type plot of the SPL readings over time is displayed across the bottom of the SPL screen. If the reset button is pressed the peak registers a mark of full scale then zero. The SPL meter has been calibrated for the built-in iPhone and iPad microphones. Other external microphones may read slightly differently. The output is adjusted for the A-Weighting of frequencies. The SPL Meter starts running once its screen has been viewed for the first time. After this it is always running in the background until the Audio Kit App terminates. While this meter gives a reasonably accurate measurement, it should not be used for any critical measurements or for any legal purposes. Sinusoid Pty Ltd bears no responsibility or liability for any use of this SPL Meter or any other parts of this iPhone App in such a way. Please see the store.sinusoid.com web site for more details. The Signal GeneratorThis is a Signal Generator with 3 different output types:
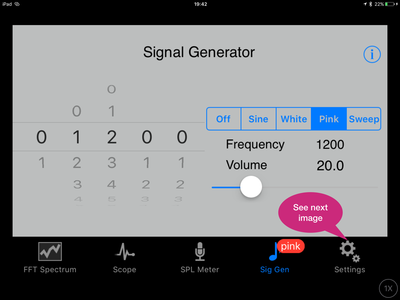
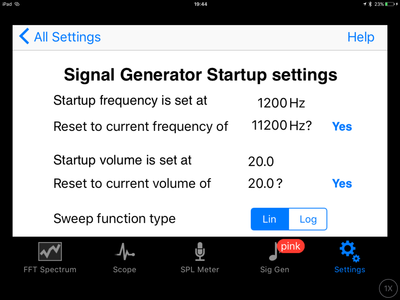
• Sine wave • White noise • Pink noise • Sweep Generator (In App Purchase) The sine wave has variable frequency output from 0-20,000Hz. Due to the characteristics of the built-in speaker the effective useful range is about 200-20,000Hz, but output from the 3.5mm audio jack will give a greater usable range at the low end. The controls on the Signal Generator are a frequency control picker, and to its right, a volume control slider and signal type selector panel. Use this signal type selector to select signal Off, Sine Wave, White or Pink Noise, or Sweep Generator. The volume slider controls the volume for all signal types. Using the frequency control picker wheels, frequency of the sine wave can be selected accurately to within 1Hz. To set the Sweep Generator, use the frequency control picker to select start and stop frequencies, then tap the number under the "Start f", "Stop f" labels to set the value. Also use this picker to select the duration of the sweep, in milliseconds and tap the number under the "Sweep time" label to set it. So that for example 15,000 milliseconds will be 15 seconds sweep duration. Sweep can go in both increasing and decreasing directions, as long as different frequencies are set, and the Sweep time value is not zero. The sweep can either be linear or logarithmic, and this is set in the Signal Generator Startup settings screen. If the Off button is selected, no signal is generated. If the Sine wave is selected there will be a red badge over the Sig Gen icon in the lower right of the tab bar. This will remain regardless of which view the App is displaying, and will show the set frequency of the Signal Generator. Likewise, in the pink and white noise positions the badge will show which noise setting is in effect.This red badge does not appear when the Signal Type selector is in the Off. If an external output plug is to be used with the Signal Generator, make sure that Audio Kit is started before plugging it in or the output signal will be very low. If this has already occurred it can be fixed by stopping Audio Kit and removing it from the app tray, then restarting it.
0 Comments
Your comment will be posted after it is approved.
Leave a Reply. |
AuthorEd Archives
December 2019
Because I can read everywhere a Policy...
|
 RSS Feed


